
In this example, we will create an invoice template using Google Docs which will then be filled with our Google Sheet data automatically (and converted to a PDF). We will also show you how to automatically email these generated invoices from Google Sheets as well.
First, we need our Google Sheet data in the right format. In this example, we're going to generate one PDF (i.e., invoice) per Google Sheet row. To make sure everything works properly, ensure your Google Sheet data follows these formatting rules:

Example of a correctly formatted Google Sheet
Next, we'll need to make the Google Doc template (i.e., invoice template) that will get populated with the data from our Google Sheet.
We'll designate which parts of the document will be replaced with Google Sheet data by using the {{Column Name}} syntax. Make sure there are no spaces between the curly braces and letters.
The key here is that whatever is inside the curly brackets {{ }} must exactly match the name of the columns in your Google Sheet, including the same capitalization and spaces. So for example, if in our Google Sheet we have a column for First Name, then everywhere we want that value to be inserted into the template we'll need to put {{First Name}}.

Google Doc Invoice template
We will use Lido, a new spreadsheet built to automate repetitive tasks, to merge our Google Sheet data into the Google Doc template, so we can automatically generate invoices from Google Sheets. You can create an account for free here: http://www.lido.app/go/signup


In Lido, we can use =CREATEPDF() or =CREATEGOOGLEDOC() to generate a PDF or Google Doc invoice based on our Google Doc template that gets filled with our spreadsheet data. In this example, we will use =CREATEPDF(), because invoices are usually dealt with as PDFs.
The formula looks like this:
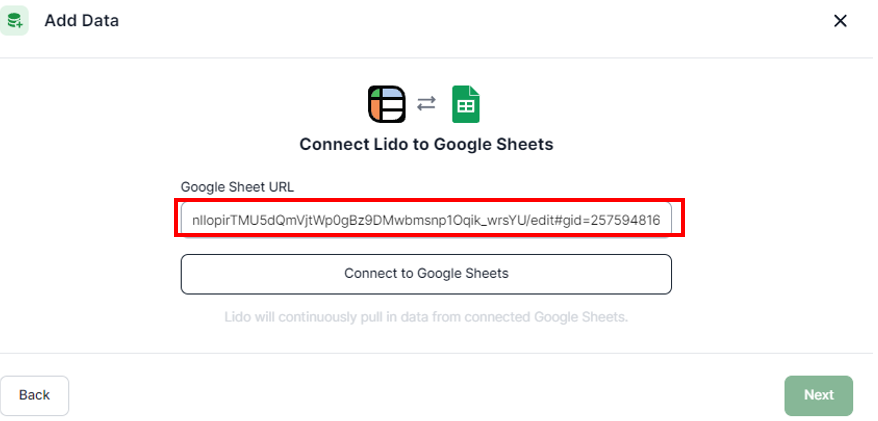
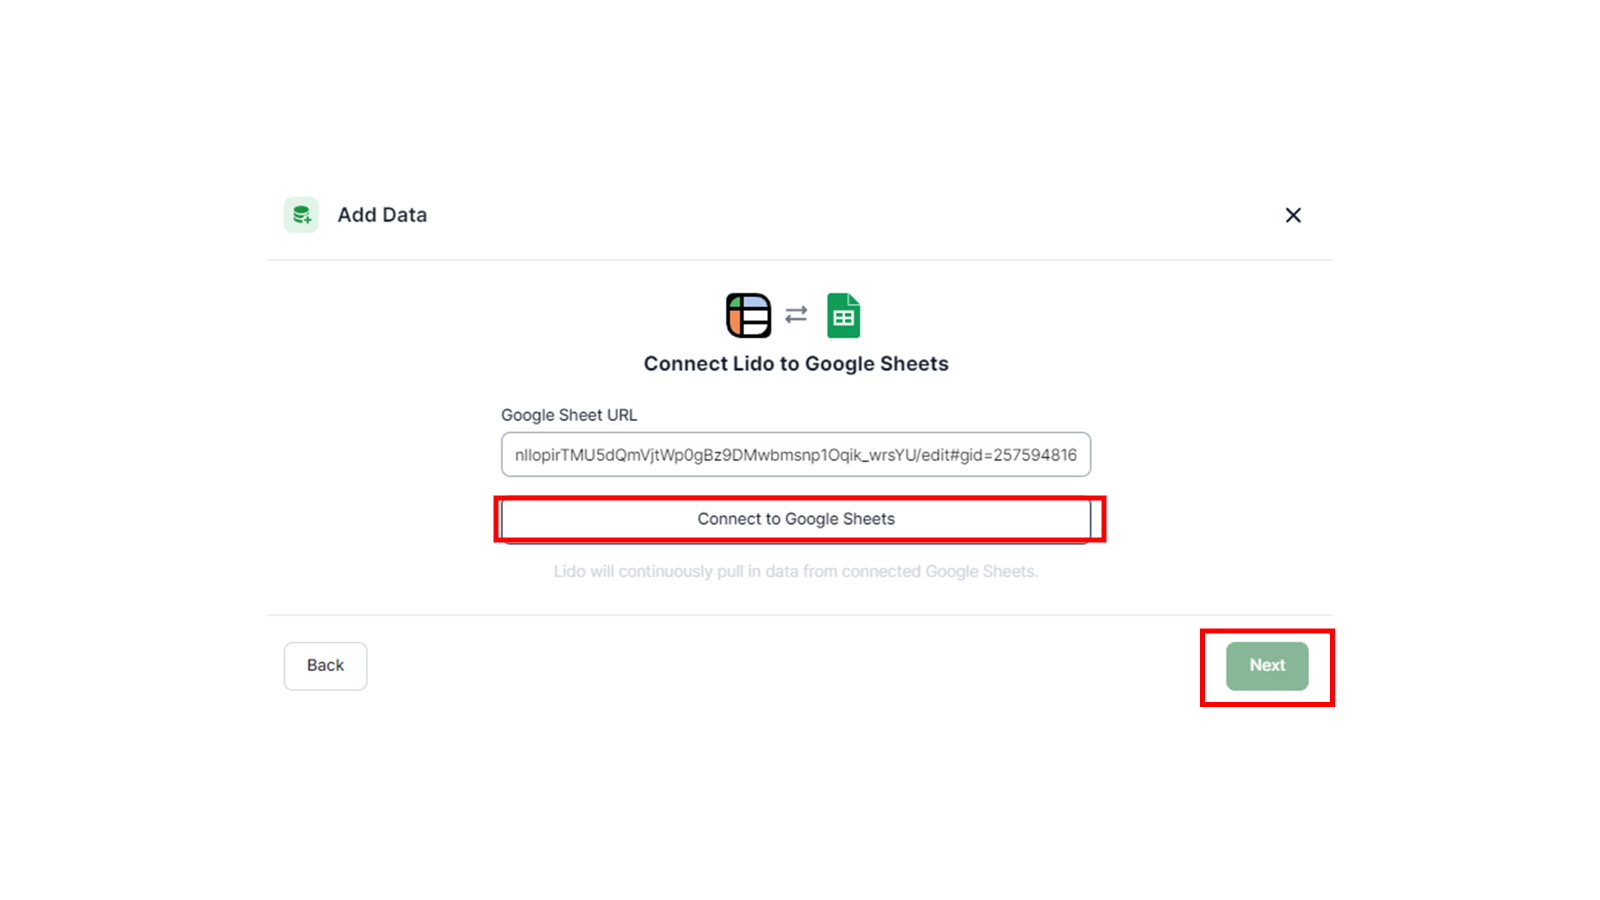
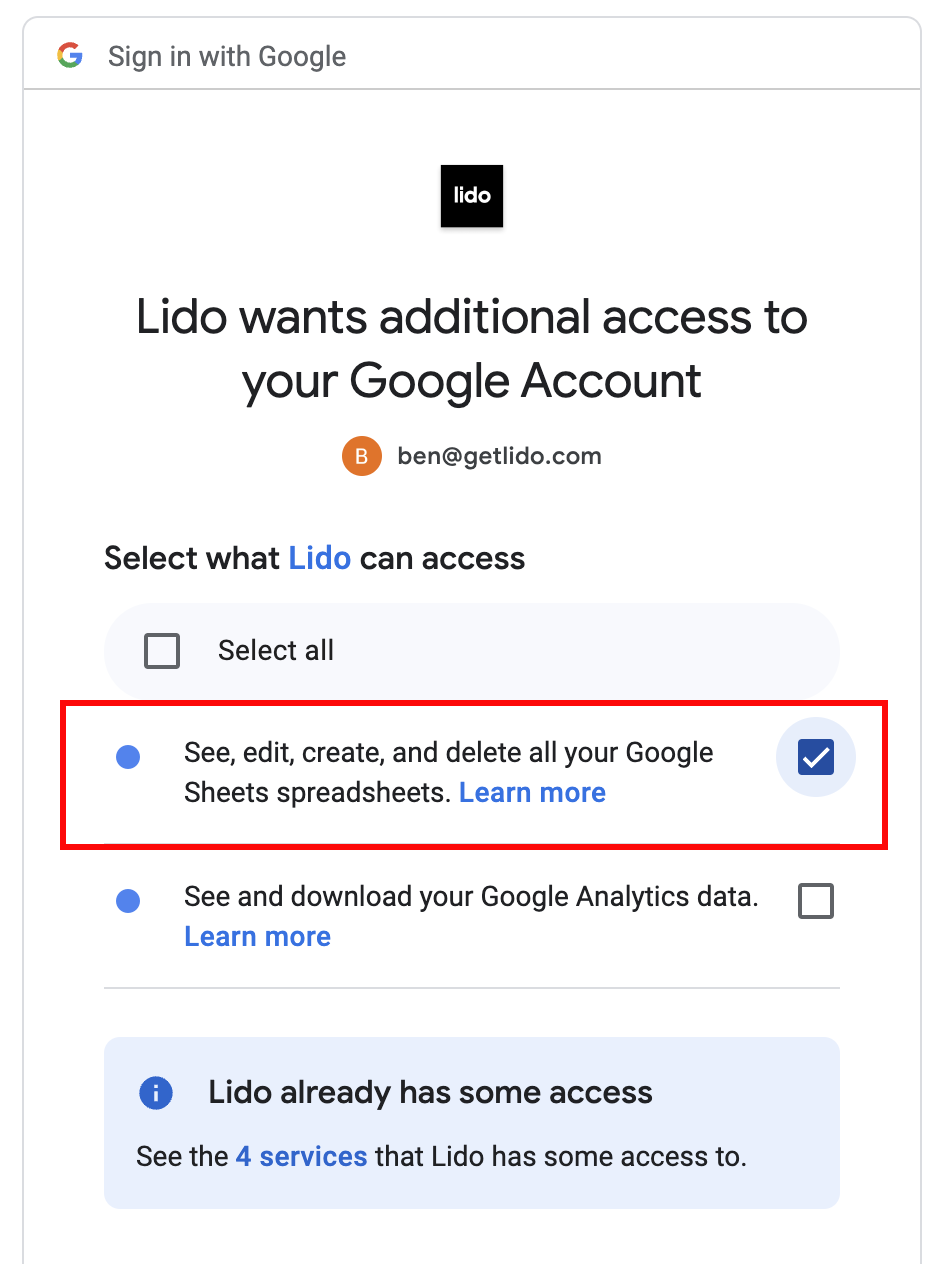
Google Drive credential - you'll need to add a credential to connect to your Google Drive holding the Google Doc (invoice) template

Make sure to follow the connection flow to give Lido the necessary permissions. Once this is done, your Google Drive credential will be stored as the first argument of the CREATEPDF formula. Move on to the next argument of the formula.
Template file - use the file picker to select your Google Doc invoice template file.


File Name - name of the new PDF invoice that is being generated. You can make dynamic file names based on your Google Sheet data with a formula like:
"Invoice for "&A2
Status Cell - when the PDF invoice is generated successfully, the link to the new PDF will be outputted into this cell. I recommend choosing the row 2 cell in the next column over to where you are inputting the CREATEPDF formula. In our case this is K2.
Here’s an example of what would be shown in the status cell: https://drive.google.com/file/d/17HQtVxi3VQfY-uI9XTOT3bseFcyxcaXa/view?usp=drivesdkk
After filling out the CREATEPDF formula, press enter (remember to input the formula in the blank column right next to your data table - for us this is J2). You’ll notice a blue computed column that applies the formula to every row in your data table with the correct cell references (row 2 cell references for row 2, row 3 cell references for row 3, and so on). Computed columns are created when you implement formulas right next to a table of data; and they will automatically apply your formula to new rows as your data grows.
Our Lido file now looks like this:

Double click on the header cell (row 1 cell) of the column holding the CREATEPDF formula. Rename it PDF Generator.
Our file now looks like this:

As you may have noticed, in this example we set K2 as the status_cell for our CREATEPDF formula when inputting the formula into cell J2; and the computed column has applied that CREATEPDF formula to every row in our data table with the correct cell references for each row. For example, for row 3 the status_cell in CREATEPDF is K3.

So, in our example, column K will be the status column holding the links to the generated PDF invoices for each row. For this use case, we’ll call this status column PDF Link.
Note: A Linked Column is a special kind of Lido column that lets you add data in Lido that stays "stuck" to the correct row of your external, connected data (e.g, Google Sheets data) - even if the external data source rows change order (cool right?!).
For a Linked Column to work, it needs to use another column as a unique ID column (b/c we’ll be assigning each row’s PDF Link value a unique ID). It’s important to pick an ID column with unique values - this is how Lido correctly keeps status values (like the PDF Link values) stuck to the correct row - even when your external data’s rows change order. We will choose Email Addresses as our unique ID - the GIF below shows an example of how to do this:

As we mentioned before, we want to refer to this column as PDF Link. Double click on the header cell (row 1 cell) of your status column - for us this is cell K1 - and rename the column PDF Link. This just makes more sense for this use case.
Our data now looks like this:

Let’s manually run a test. Right click on any of the visible CREATEPDF formulas in the PDF Generator column. Then press Run action.
If everything is set up correctly, you’ll see:

To run the whole column of actions (in other words, to generate the PDF invoices for every row), click on the 3 dots on the header cell (row 1 cell) of the PDF Generator column. Then click on Run column now. This will run the CREATEPDF formulas of every row. Therefore, this will generate PDF invoices for every row. Below is an example of how to do this:

You’ll see the PDF Link cells for all rows be populated with the links to the PDF invoices for those rows.

Here is how the PDF invoices came out for the row 1 and row 2 Google Sheet records (notice how everywhere I referenced my Google Sheet column names, like {{First Name}}, the values a Google Sheet row has for that column got populated in the generated invoice):

Row 1 Invoice
Row 2 Invoice

Now, for the fun part. We don’t want to manually click anything to generate Google Sheets invoices. We want to automatically generate invoices from Google Sheets everytime a new row is added to our Google Sheet; and we want to do this then and only then.
In other words, we want to automatically generate invoices from Google Sheets if a row’s invoice has not been created yet. Therefore, we need to set up a condition that only shows the CREATEPDF formula for a row (and thus the formula will be run by our automation) if the PDF Link cell for that row is blank (i.e.,there is no PDF link because no PDF has been generated yet).
In our case the formula will now look like this:
In my file it looks like this:

You’ll notice since I already ran the CREATEPDF formulas for both my rows, and thus the PDF Link cells of each row are filled with PDF links (i.e., not blank), all the CREATEPDF formulas are hidden (they just show FALSE).

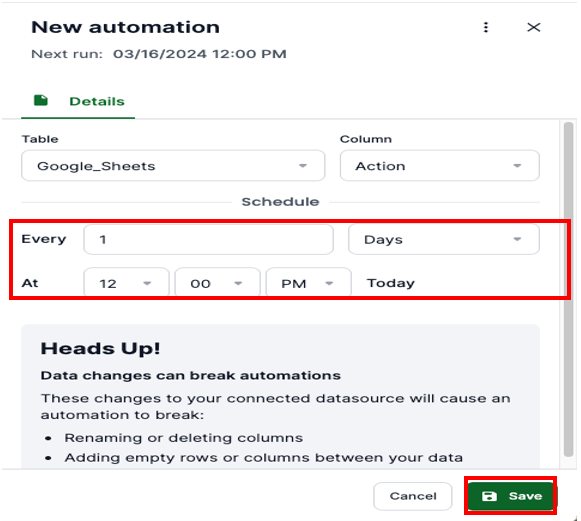
Now click on the three dots of the header cell (row 1 cell) of the PDF Generator column. Then click on Run column on a schedule.

An automation panel will show up. Select the interval you want the automation to run on and press Save.
Note: everytime the automation runs (like every day at 12PM), Lido will do the following things:
…even when the file is closed or you are logged out. So, once you set the automation you can close the file and no more work needs to be done!
Let's review what we covered!
That’s how you generate Google Sheets invoices!
Here is the Google Doc invoice template I used for this article’s example: https://docs.google.com/document/d/1XsRMzDs_TcSzyGyTQncHSQuHi0BVuMJ_z7rDJ3rZ13k/edit
If you’d like to use this as a starting point, go to the Google Doc, select the contents of the Google Doc, and copy the contents. Then paste the contents into your own Google Doc.
Watch this video starting at minute 5:36!
You’re set! That is how you automatically generate invoices from Google Sheets.
We hope that you now have a better understanding of how to generate Google Sheets invoices.
