
How to Schedule a Text Message on Android (Easiest Way in 2025)
In this article, we will show you how to schedule a text message on Android using the Google Messages App. Simply follow the process below.
How to Schedule a Text Message on Android
Follow the steps below to schedule a text message on your Android phone using Google Messaging to help you manage your communications efficiently.
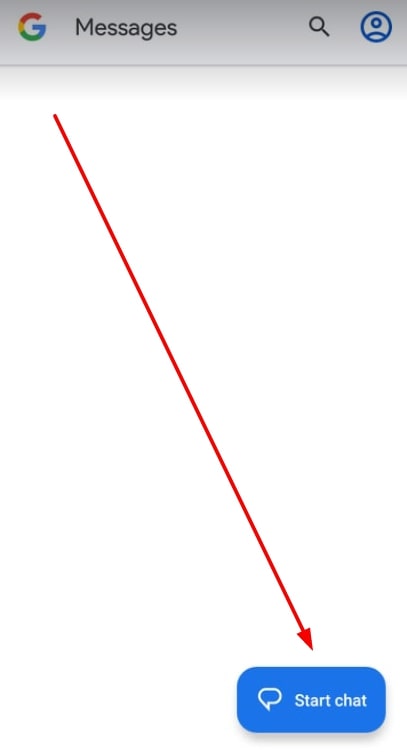
1. Launch the Google Messaging App on Your Android Phone
Open the app drawer on your Android phone and locate the Google Messaging app. It's typically represented by a chat bubble icon. Tap on it to open the app and get started with messaging.

2. Tap on the New Message Icon to Start a Message
In the Google Messaging app, look for the new message icon. It's usually a pencil or a '+' symbol, often located at the bottom right of the screen. Tap on this icon to start composing a new text message.
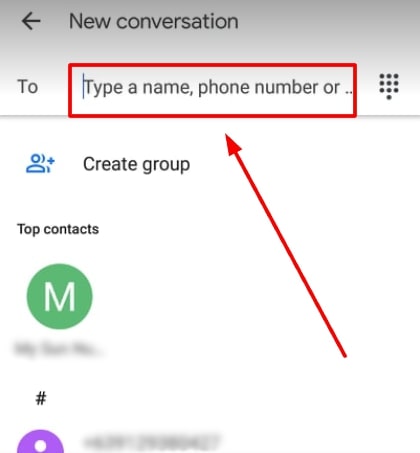
3. Input Recipient's Phone Number or Select Contact
In the 'To:' field at the top of the screen, you can either type in the phone number of the person you want to message or tap on the contacts icon to select someone from your contacts list. The contacts icon is typically represented by a silhouette or an address book.
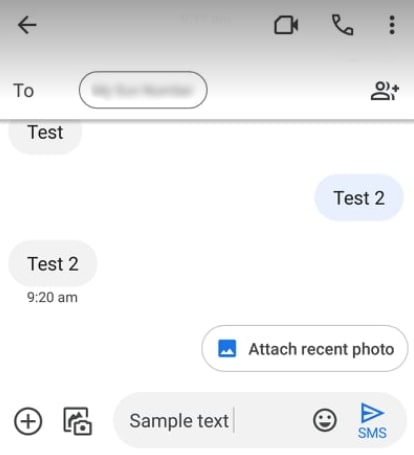
4. Type the Text Message in the Message Box
Below the recipient field, you'll find a large text box. This is where you type the content of your message. Ensure that you type everything you want to say, as this is the message that will be scheduled and sent.
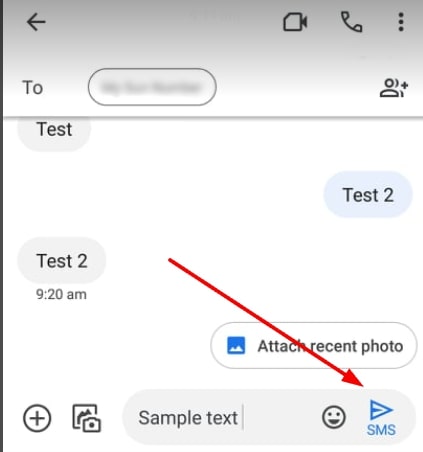
5. Long Press Send Button to Access Advanced Options
Instead of a quick tap, press and hold the send button, which looks like an arrow pointing right. This action will open a menu with more options, including scheduling your message.
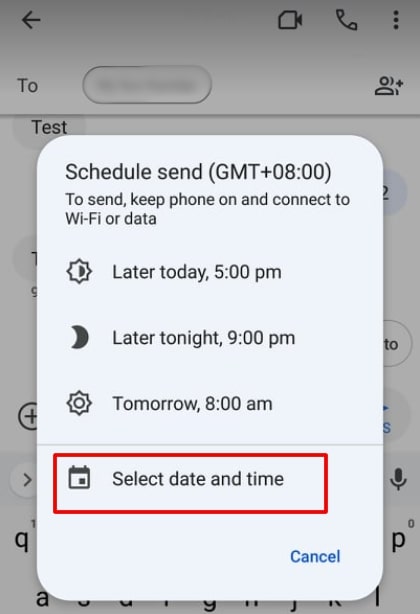
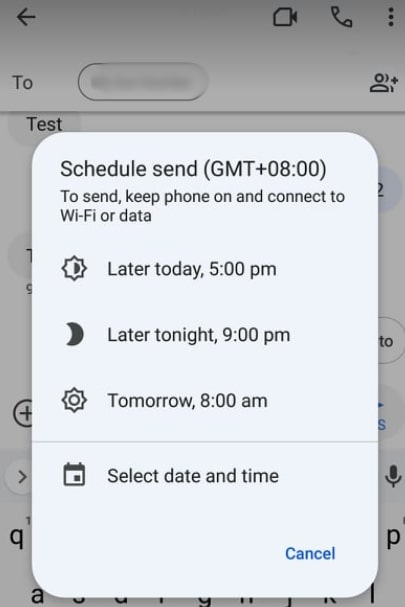
6. Choose 'Select date and time' from the Pop-Up Menu
In the menu that appears after long pressing the send button, look for and tap on the 'Select date and time' option. This option allows you to schedule when your message will be sent.
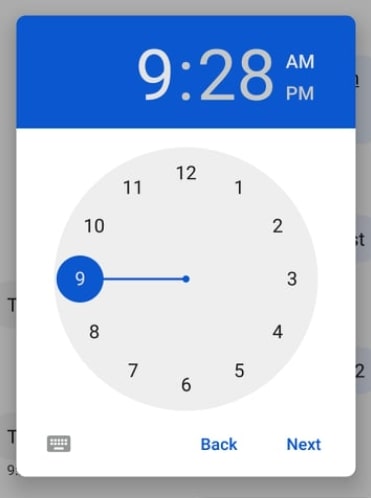
7. Set the Desired Date and Time for the Message
A calendar and clock interface will appear, allowing you to select the exact date and time for your message to be sent.
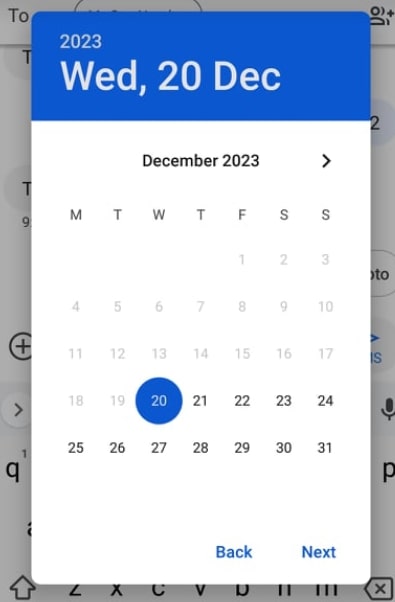
Scroll through to find and set the desired time.
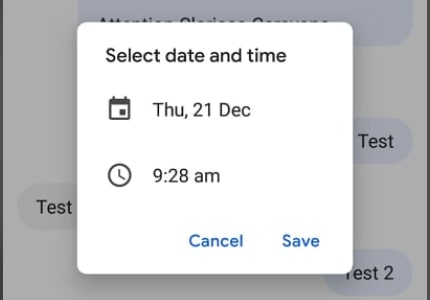
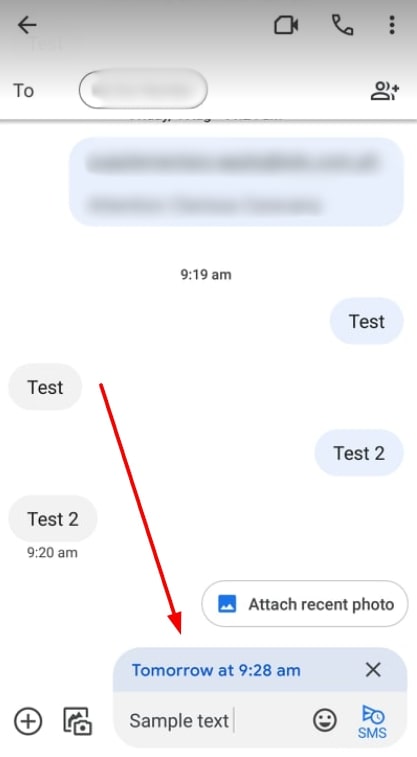
8. Confirm the Scheduled Message to Complete Setup
Once you've chosen the date and time, tap the confirm button to finalize the scheduling. This button may be labeled as 'Save.'
9. View Scheduled Messages in the Main Menu
To view or manage your scheduled messages, go to the message thread and confirm if your message is scheduled.
10. Modify or Delete Scheduled Messages if Needed
If you need to change the content, time, or date of a scheduled message, or if you decide to cancel it, simply tap on the scheduled message from the list. This will open options allowing you to edit or delete the message.
We hope that you now have a better understanding of how to schedule a text message on Android using the Google Messages App. If you enjoyed this article, you might also like our article on how to set reminders on iPhone.