
How to Send Automated Emails to Customers (2025 Update)
In this article, we will show you how to send automated emails to customers. Simply follow the process below.
How to Send Automated Emails to Customers
Discover how to send automated emails to customers effortlessly with Lido—an innovative platform streamlining email dispatch across various data sources. Whether it's spreadsheets, databases, or other datasets, Lido offers an easy way to send personalized emails. Let's see how Lido makes email automation simple and efficient, without the usual hassle.
Email Automation
Consider a scenario where crafting personalized emails for numerous clients from an extensive database seems daunting. Leveraging Google Sheets streamlines this process. Here’s a concise roadmap to automate email dispatches seamlessly. We will use Google Sheets as an example datasource; Lido can send emails based on many other data connections as well.
View all data sources here: https://www.lido.app/use-cases
1. Populate Recipient Details in Google Sheets
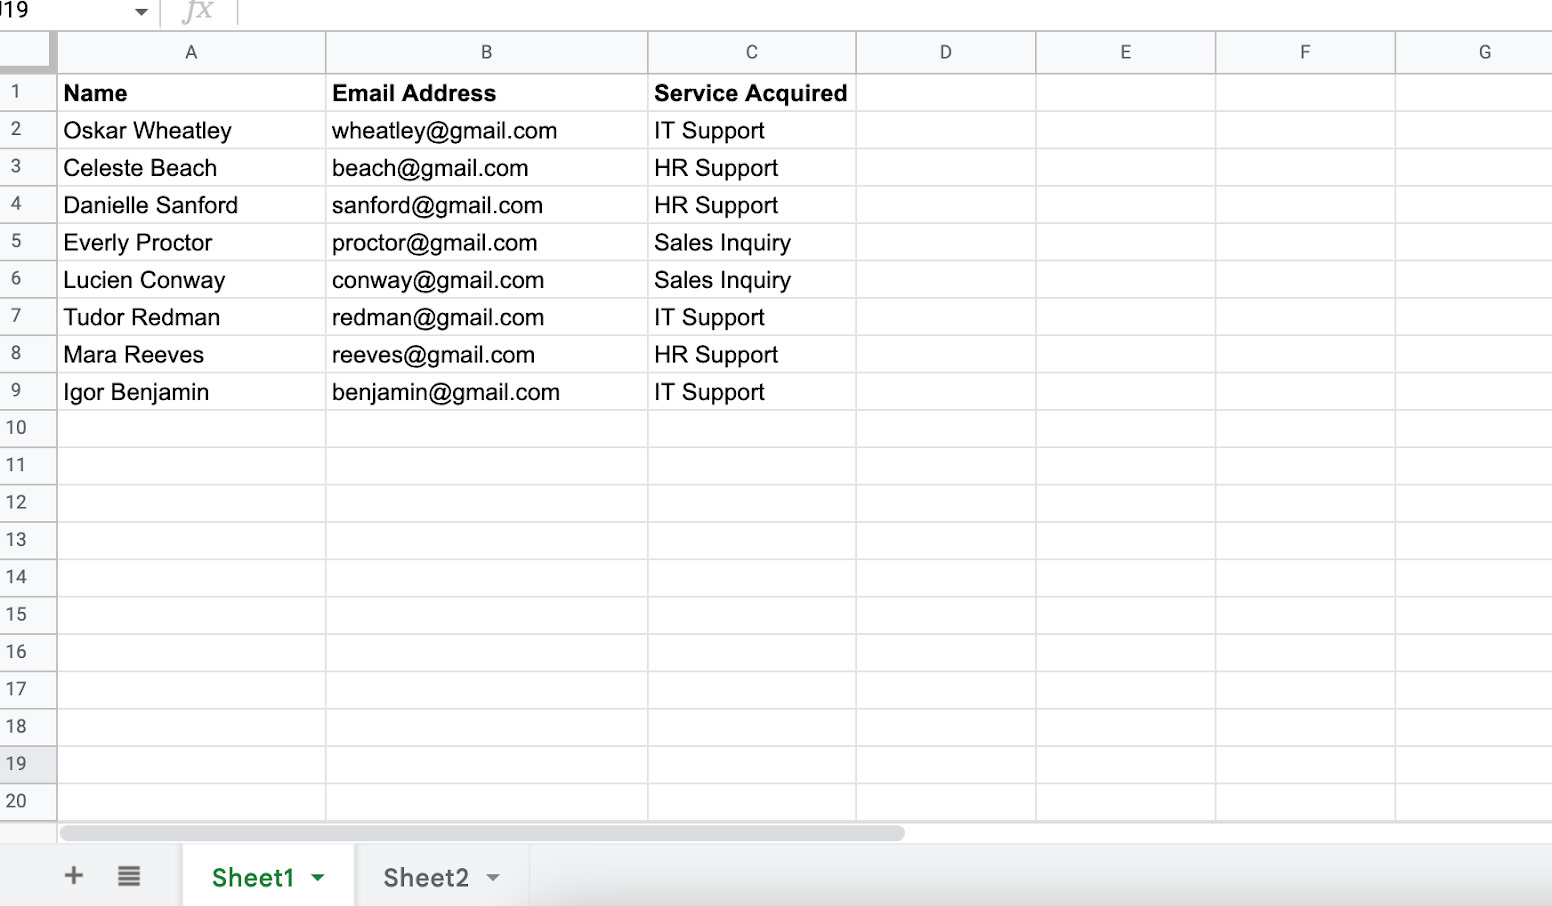
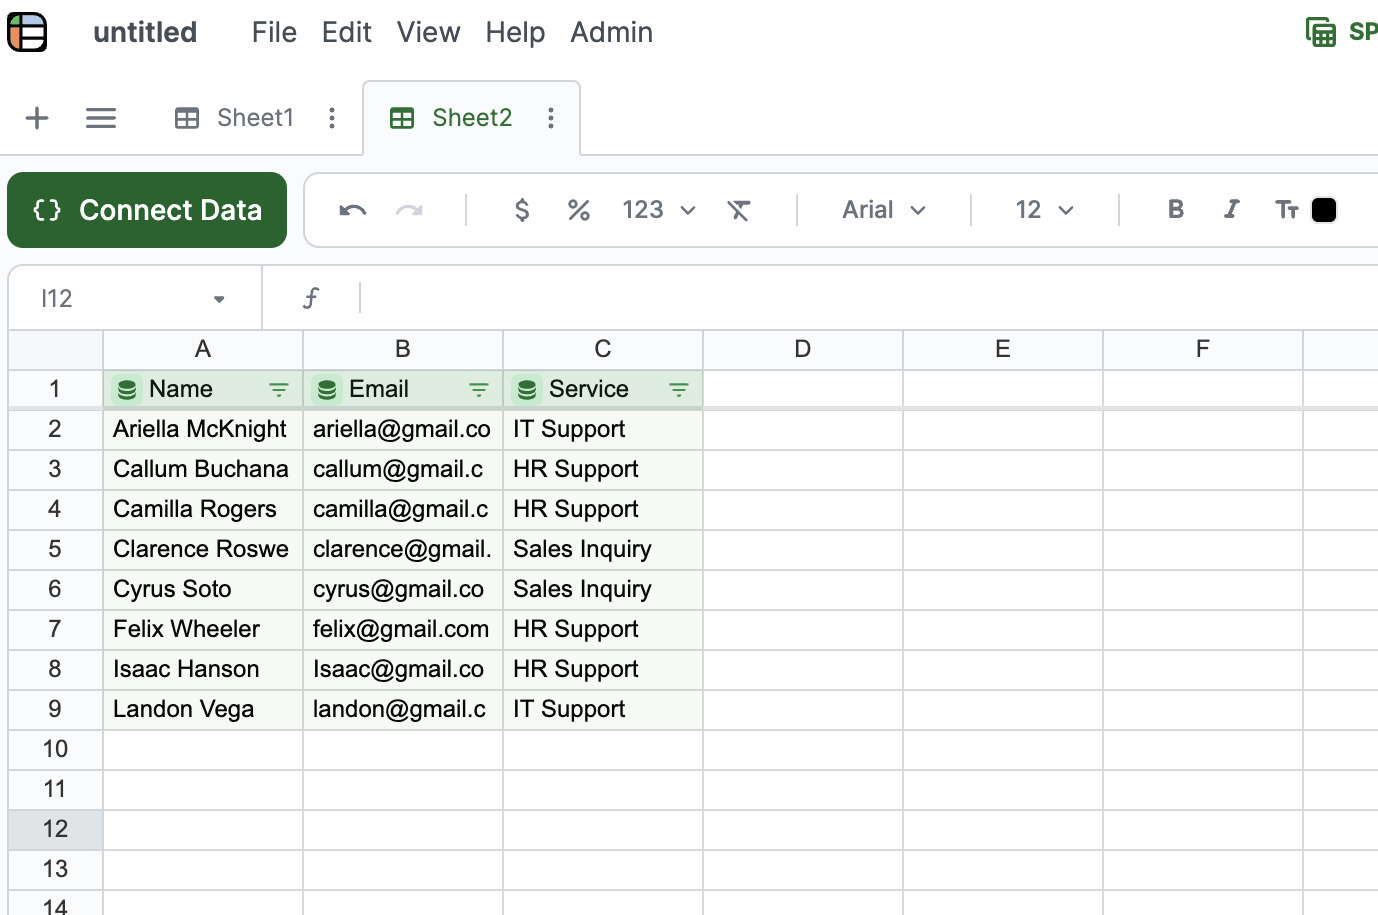
In Sheet 1, provide recipient details such as names, mailing addresses, and any customizations, each in its own column.
2. Integrate your Google Sheet with Lido
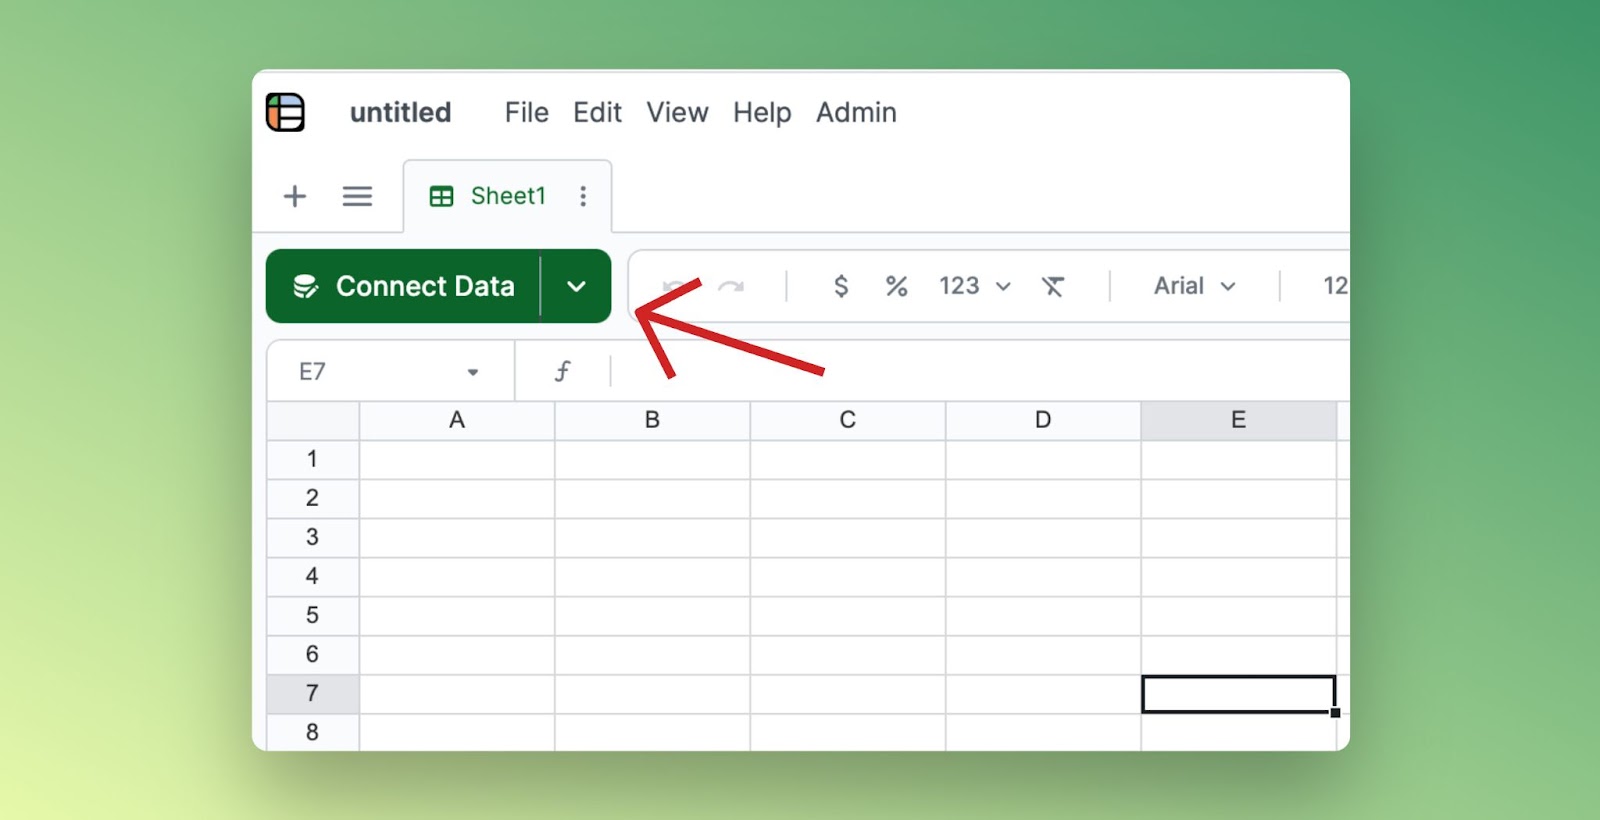
If you don’t already have a Lido account, create one at https://www.lido.app/go/signup. Then, create a new file, and initiate the data source connection by clicking the green Connect Data button in the top left corner. Select Google Sheets from the list.
Paste the previously generated Google Sheets URL, then proceed to establish the connection.
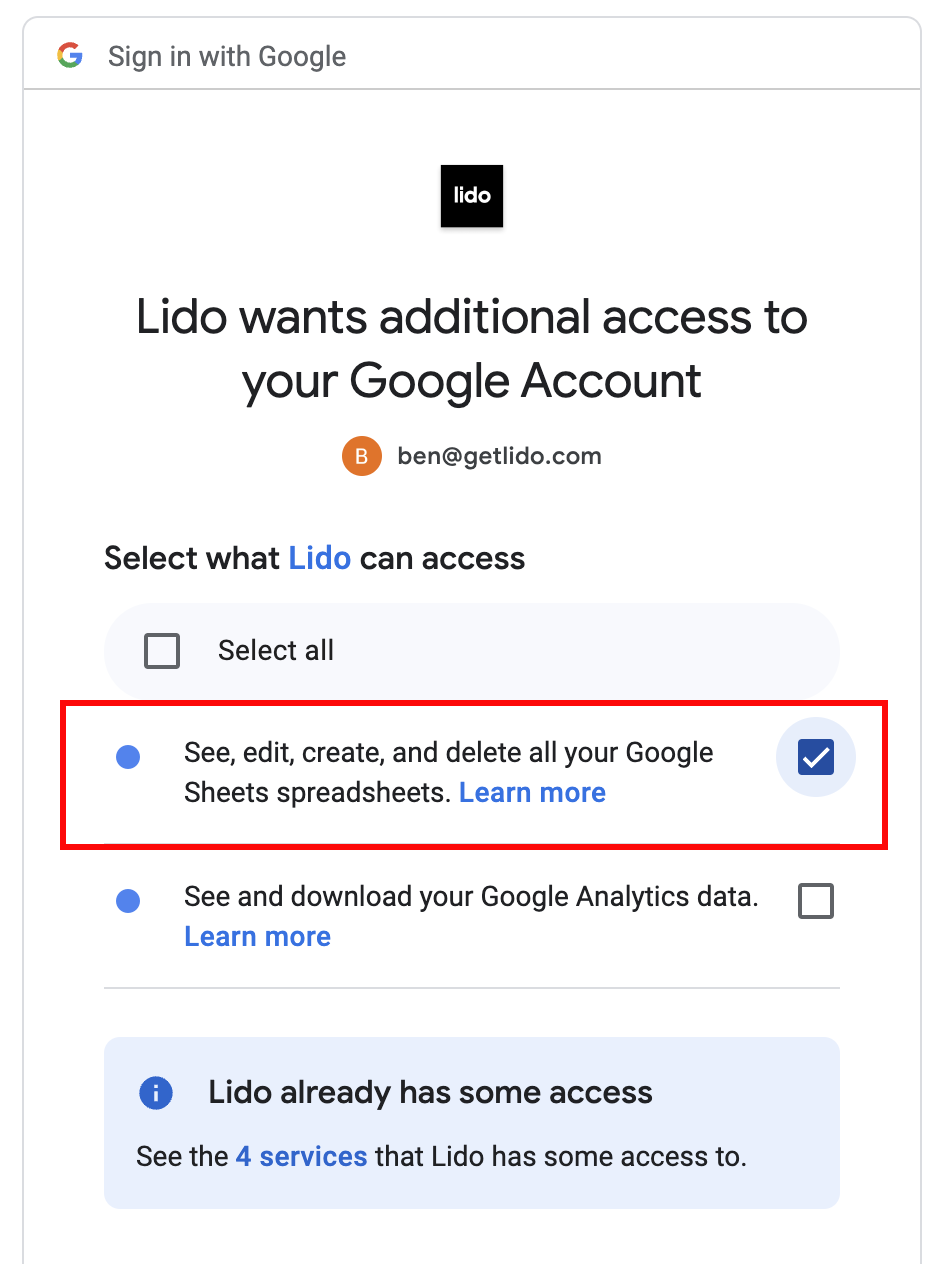
When prompted, authenticate your Google account, giving Lido access to your Google Sheet.
Select the columns from your Google Sheet that you want to connect to Lido. Lido will automatically keep records updated from your Google Sheet, so don’t worry if you plan to add more records.
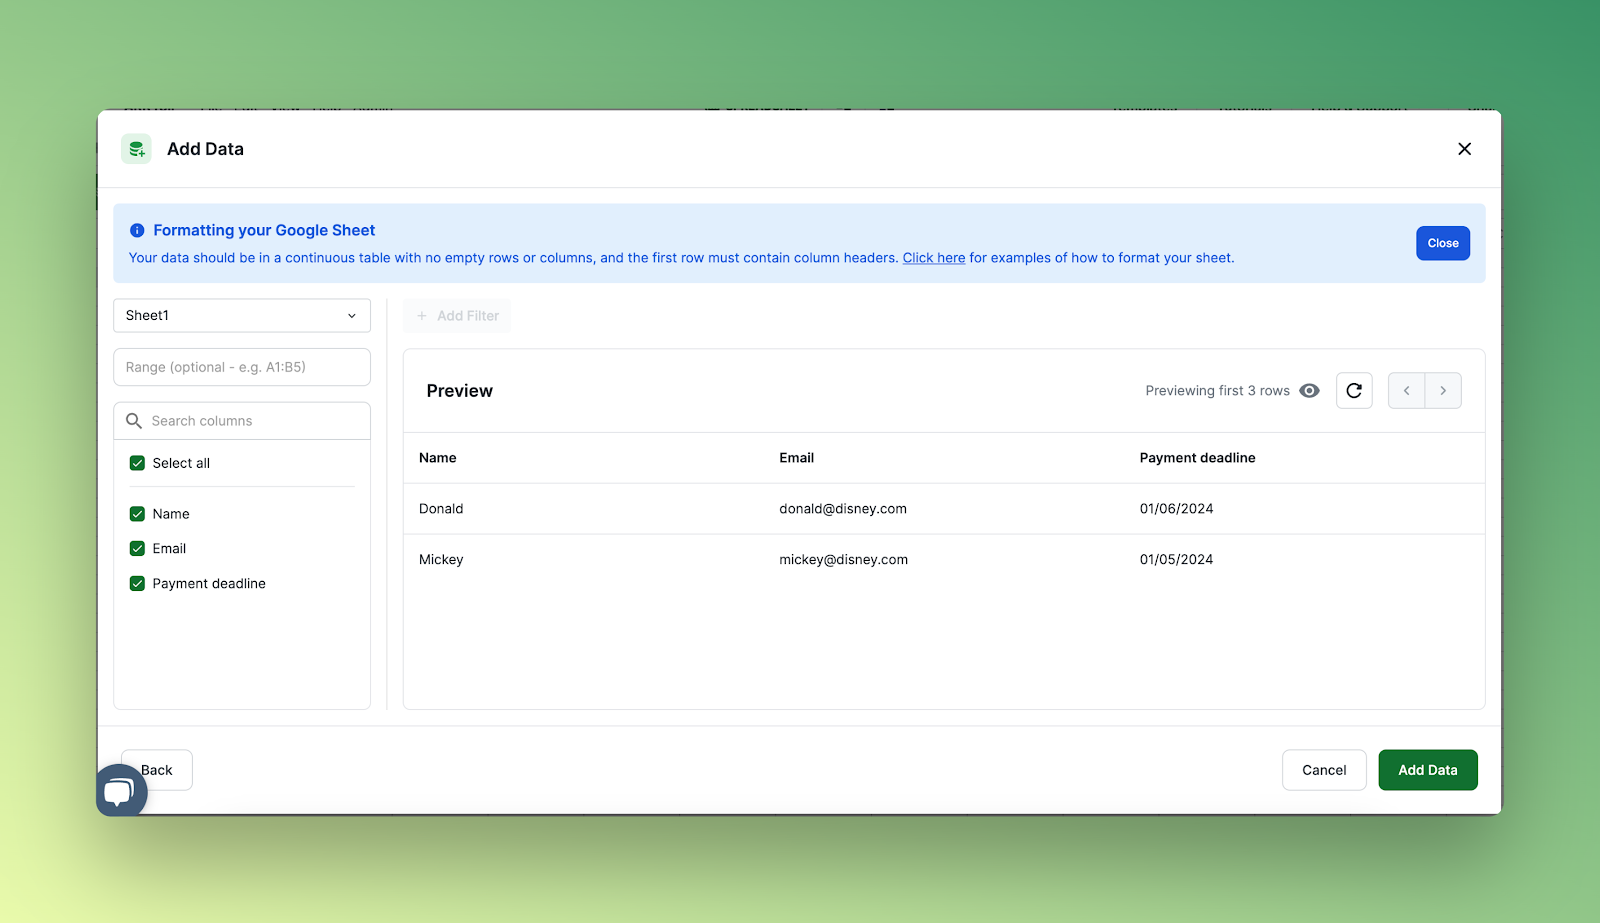
With a click on Add Data, your Google spreadsheet seamlessly integrates into Lido as table.
3. Craft Email Subject and Body Templates in a Fresh Spreadsheet
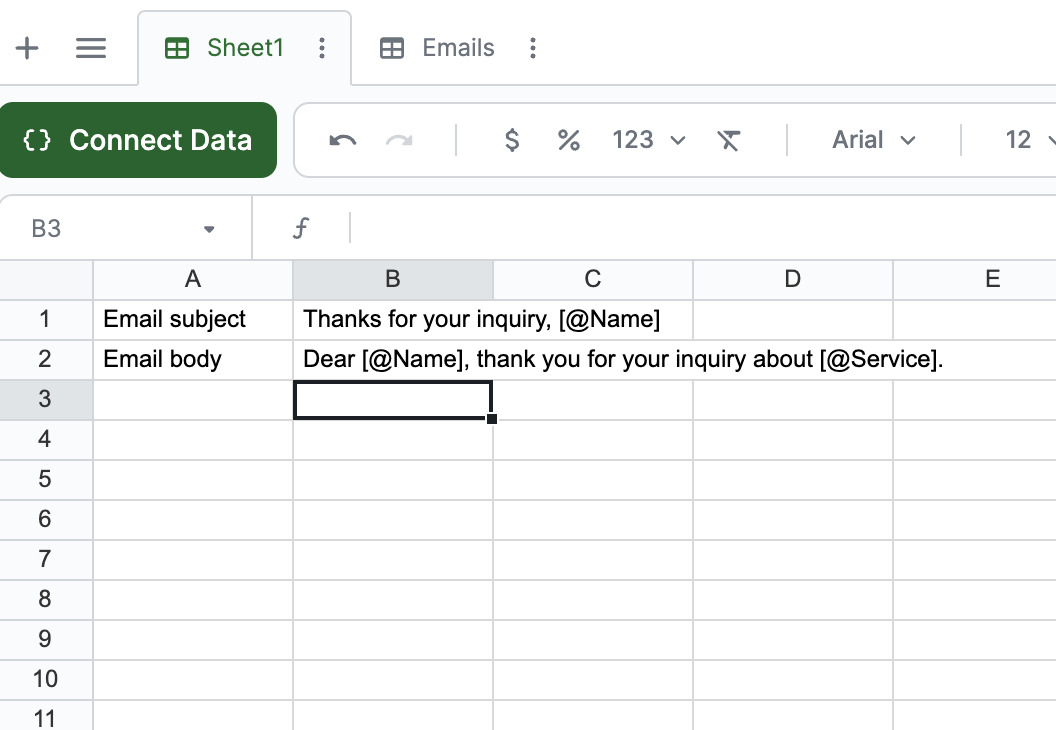
Create a new worksheet to delineate email subjects and body content. Employ column references as variables—[@Column]—for dynamic content insertion.
For instance, in Column B, input:
Email subject:
Thanks for your inquiry, [@Name]
Email body:
Dear [@Name], thank you for your inquiry about [@Service].
4. Formulate Subject and Email Body Columns, Drawing from Template**
We can use these templates to create Subject and Body columns that will hold the email data for each customer entry.
Lido’s =STRINGTEMPLATE() formula will substitute the column variables we used in our template with the specific values for each row.
Introduce a computed column by writing the formula in the second row adjacent to your table:
=STRINGTEMPLATE(email_body_cell)
Utilize an absolute reference—like Sheet1!$B$1—for email_body_cell. This instantiates a computed column, automating formula application across the entire row.
We can make STRINGTEMPLATE formulas for email subject and body in cells D2 and E2:
=STRINGTEMPLATE(Sheet1!$B$1)
=STRINGTEMPLATE(Sheet1!$B$2)
Your table now has Subject and Body columns with dynamic customer information.

5. Configure the =SENDGMAIL() Formula for Email Transmission**
We can now configure Lido’s SENDGMAIL formula to send our merged email messages to our customers. The arguments for SENDGMAIL are:
=SENDGMAIL(<sender-credential>, recipient, subject, body, status_cell)
- Sender-credential: Generate a credential associated with your@email.com, aligning with your Gmail or Google Apps account.
- Recipient: Email address sourced from B2.
- Subject: Extracted from D2.
- Body: Extracted from E2.
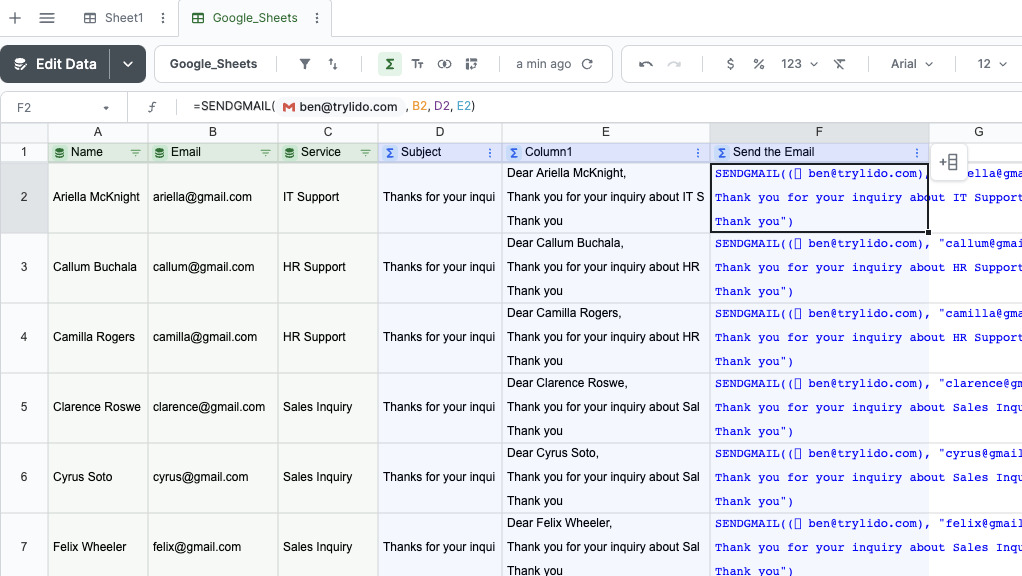
Create a new Computed Column to house the SENDGMAIL formula for email transmission. Begin by entering =SENDGMAIL() next to your body column in the second row. Populate sender credentials by clicking on the "+" within the first argument, creating a credential for your Gmail (or Google Apps) account.
Finalize the formula:
=SENDGMAIL(<sender-credential>,B2,D2,E2)
Rename the column to 'Send the Email' for clarity.
6. Execute a Test Email
Initiate a trial run by right-clicking on a SENDGMAIL formula and selecting "Run action." This trial necessitates initial Gmail account authentication.
7. Send all Emails in the List
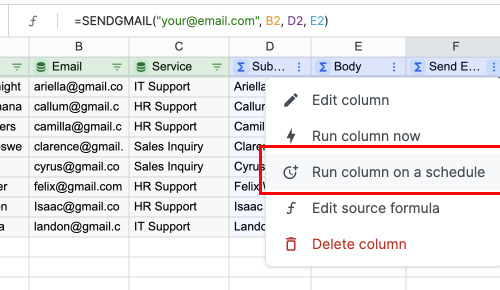
For bulk email dispatch, navigate to the 3-dot menu in your SENDGMAIL column and opt for "Run column now." This action efficiently sends all listed emails at once.
Automating your Email List
Access the 3-dot menu within your SENDGMAIL column, selecting "Run column on a schedule."
This opens the automation panel, offering frequency options for SENDGMAIL Action execution. Lido ensures data synchronization with Google Sheets preceding each automation cycle.
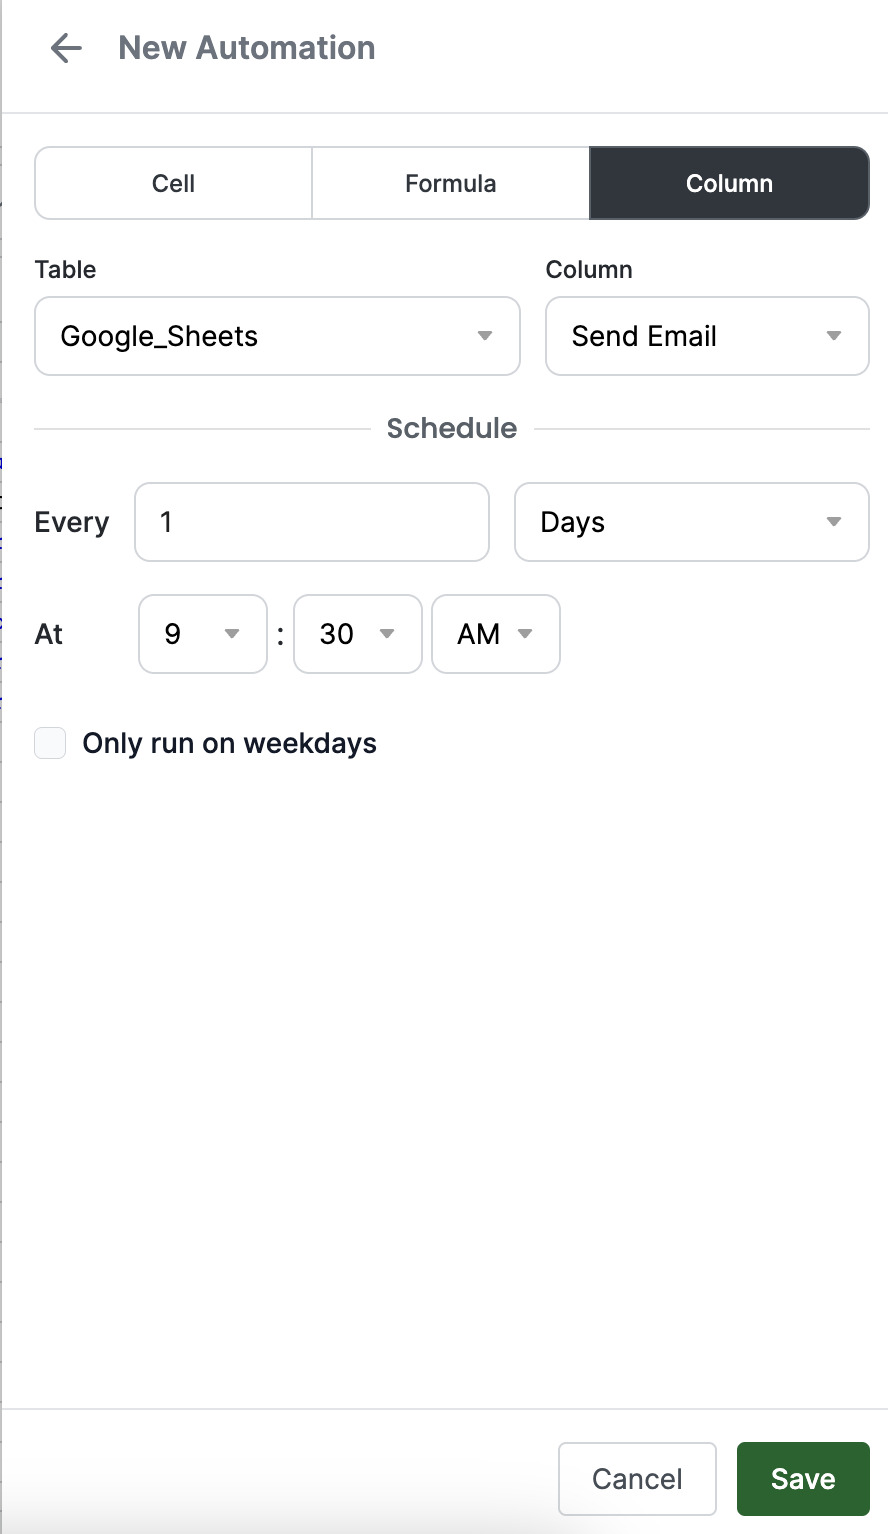
Opt for a daily dispatch at 9:30 AM, and conclude by saving your new automation.
Ensuring Emails Only Get Sent Once
The automation we just created will run every available SENDGMAIL action in the column. If we want to ensure each email is sent only once, we have to keep track of which emails have already been sent, and disable the SENDGMAIL action in those cases.
1. Introduce a Status Column
Institute a status column labeled "Status" in the top cell of the next column.
This triggers automatic creation of a Linked Column, which keeps data that we have entered synced with the rest of the table, even if some rows are rearranged or deleted.
Designate email as the column harboring unique values. If that column isn’t unique, select another unique column, or create one by concatenating values in other columns.
2. Update the SENDGMAIL Formula to Reflect Status
Append a fifth parameter to SENDGMAIL, setting it to update the status column post-email transmission.
For instance:
=SENDGMAIL(<sender-credential>, B2, D2, E2, G2)
Upon SENDGMAIL execution, G2 reflects transmission status—success or error.
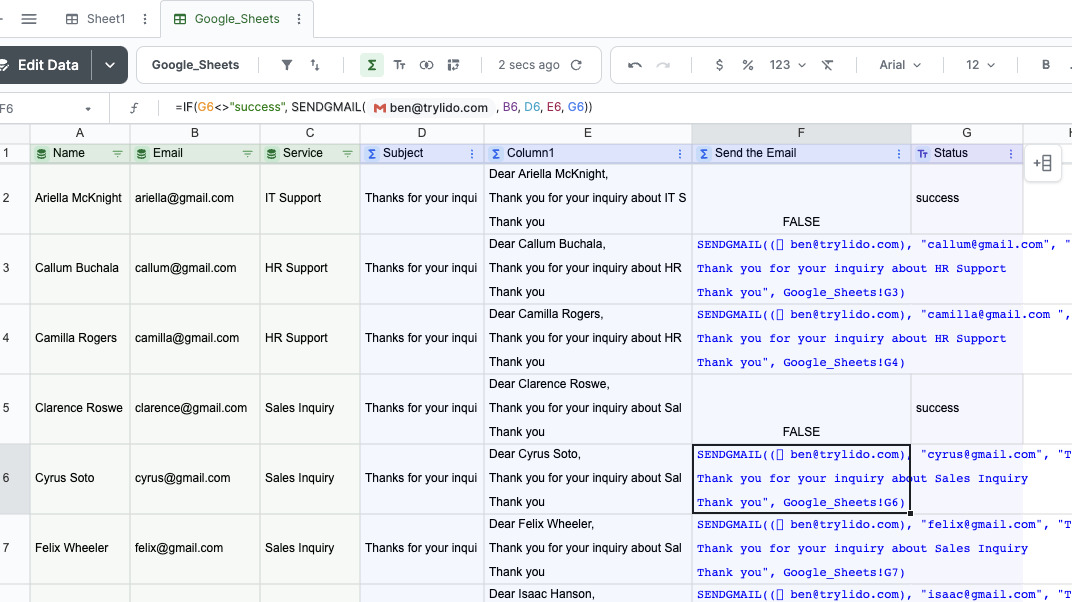
3. Implement an IF Statement to Monitor Email Dispatch
Enclose the SENDGMAIL formula within an IF statement which checks the status column to see if the email has already been successfully sent.
For example:
=IF(G2<>"success", SENDGMAIL(<sender-credential>, B2, D2, E2, G2))
This ensures that only unsent emails trigger dispatch; if the email has already been sent, this formula will display FALSE instead.
That’s all you need to automate sending customer emails!
We hope that you now have a better understanding of how to send automated emails to customers. If you enjoyed this article, you might also like our article on how to send automated notification emails or our article on how to set up Slack automated messages.